

Reading Time: 7 minutes read
Photographing the moon at night can certainly be challenging. The blurry white blob in our photo often pales in comparison to what we see by the naked eye. As magical as night photography appears, it can be equally as tricky to accomplish well. Master a handful of night photography tips and watch your skill level improve. Use the summer months to learn. You’ll have favorable weather, extra hours of daylight, and plenty of opportunities to practice. By the end of the season, there’s no doubt you’ll have a stunning shot of the moon, the sky, or other night moments.
5 Key Night Photography Tips
First, tackle the technical hurdles that come with taking dark night summer pictures. The tallest obstacle is the lack of lighting. It creates a cascade of other potential issues. Without adequate lighting, you’ll struggle with noise, proper focus, harsh shadows, and white balance. Experienced professionals have figured out all the solutions – and you can, too. Simply follow these five-night photography tips:
1. Switch to manual mode.
Many first-time photographers are tempted to shoot in automatic mode. But night photography is a different beast. Automatic mode at night can confuse a DSLR. The lack of light will have it choosing all the wrong settings. Make the switch to manual mode. This gives you full control over the ISO, aperture, and shutter speed. Manual mode might seem like more work, but is well worth the effort.
2. Increase the ISO.
If you don’t remember what ISO means, refresh your memory with our basic photography dictionary. ISO determines your camera’s sensitivity to light. When the setting is dark, your camera is very sensitive to light. It’s why most night photography calls for a high ISO. A good starting point is 800. Be careful of noise or color variations. This is one of the trickier night photography tips, because it largely depends on your camera. Professional DSLR cameras can produce clear night photos at a high ISO. Others may take better shots with ISO set lower – around 100 or 200.
3. Set a wide aperture.
Aperture size dictates how much light enters the lens. Since you’re working in the dark, use a wide opening to gather as much light as possible. Use a lens handle at least f/2.8 or f/4. Certain types of night photos call for a narrower aperture. Be prepared to adjust as needed.
4. Choose a high-slow shutter speed.
Another night photography variable is shutter speed. Shooting summer landscapes at night requires long, slow shutter speeds. Set it to 10 seconds or higher. If the photo is too dark, increase it to 30 seconds. An exception is photographing urban areas with more available light. In city settings, select a faster shutter speed between two and 10 seconds.
5. Use a tripod.
No matter how strong your hands are, they can’t keep a camera steady for 10 seconds or longer. You need a tripod. If you don’t have a tripod, find another flat, sturdy surface. Use whatever you can to keep the camera perfectly still.
Enchanting Summer Night Picture Ideas
Summer is the season for barbecuing on the back deck, sinking your toes into the sand, camping under the stars, and letting all your stress just melt away. So when it comes to capturing the moments of summer, you want the images to look exactly as you feel. Not sure where to start? Here are some unique night picture ideas that elicit those enchanting summer vibes.
Star trails: These are the light streaks that follow stars when you take long-exposure photos. Star trails create acontinuous circle, which illustrates the Earth’s rotation on its axis. To get that full, beautiful arc of light, a clear evening sky is key. Urban lights ruin this effect. Use a wide angle lens and a reliable camera timer or intervalometer. The idea is to stack exposures that were captured over a period of time. Set your camera timer for three to four hours and the exposure between 30 and 60 seconds. This should give you enough single exposures to create mesmerizing star trails.
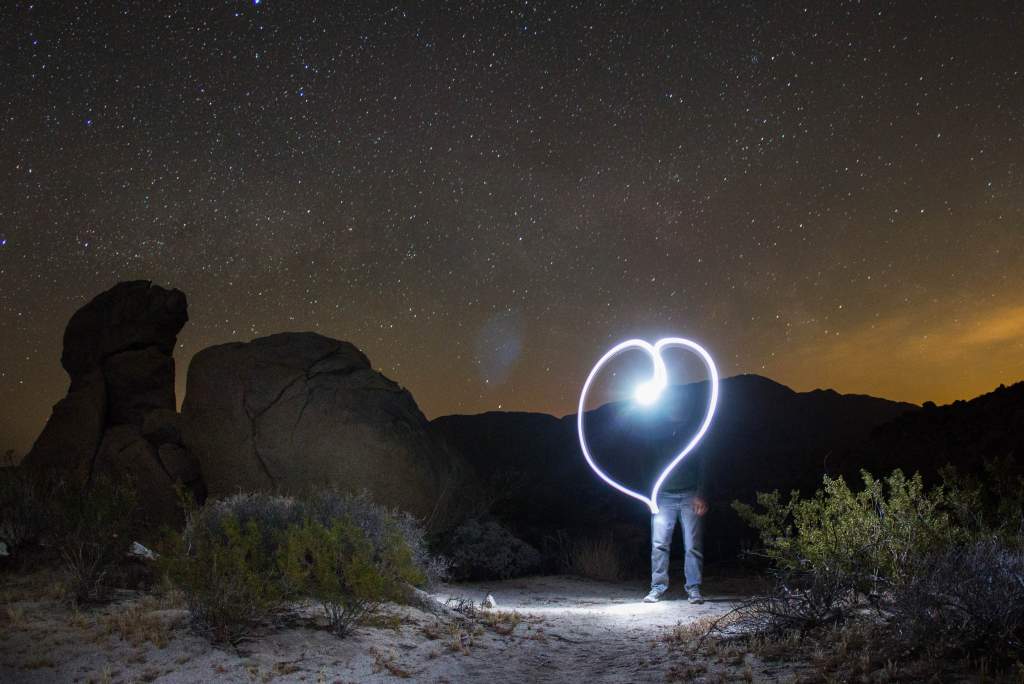
Light painting: Similar to star trails, light painting captures light in motion. The difference is you can “paint” the light virtually anywhere. Consider wrapping light around a tree or drawing a heart around your subject’s face. Get creative. Once you have an idea, adjust your camera settings. For this technique, a small aperture is more appropriate. Choose f/11 or higher with a shutter speed between 10 and 30 seconds. LED lighting is sufficiently strong as a light source.
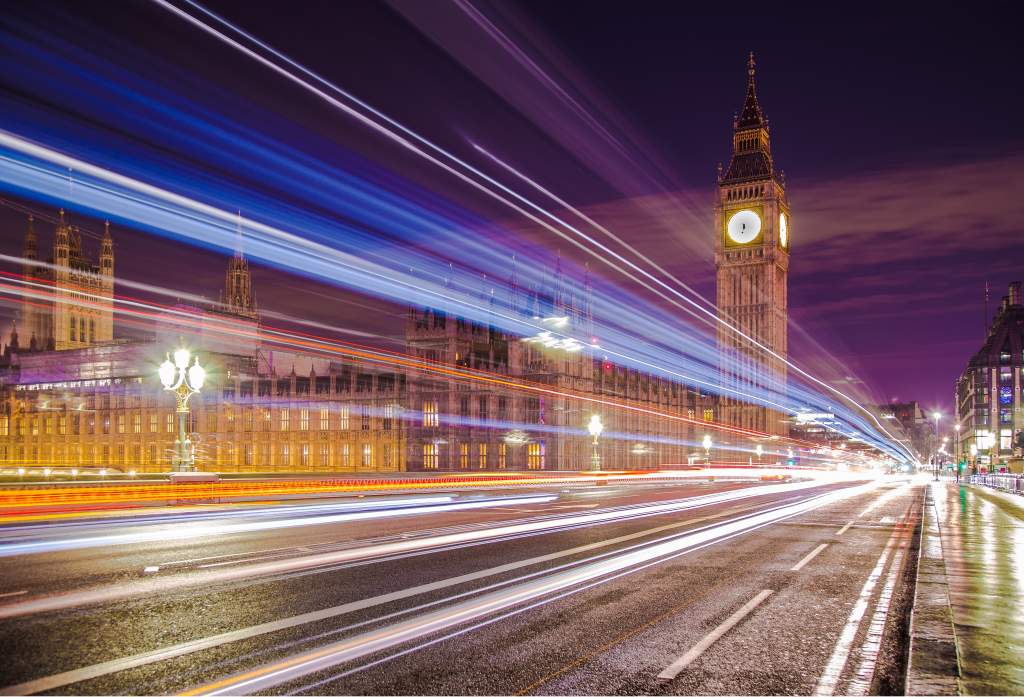
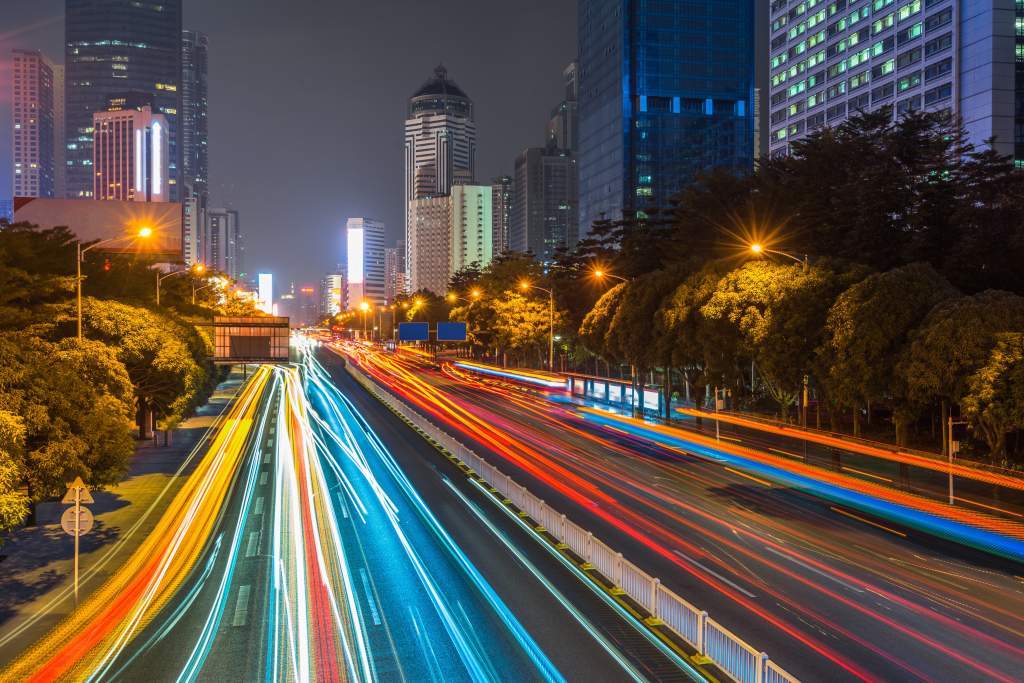
City lights: There’s a lot of activity to capture in a bustling city. Between the buildings, cars, street lanterns, and traffic signals, you’re working with an abundance of light. That means forgoing some of the traditional night photography tips. Consider a narrow aperture and lower ISO. What exactly should you photograph? Well-lit monuments and cool marquee signs are excellent beginner photographs. If you really want to capture the “wow-factor”, catch streaking lights from car headlights driving by.
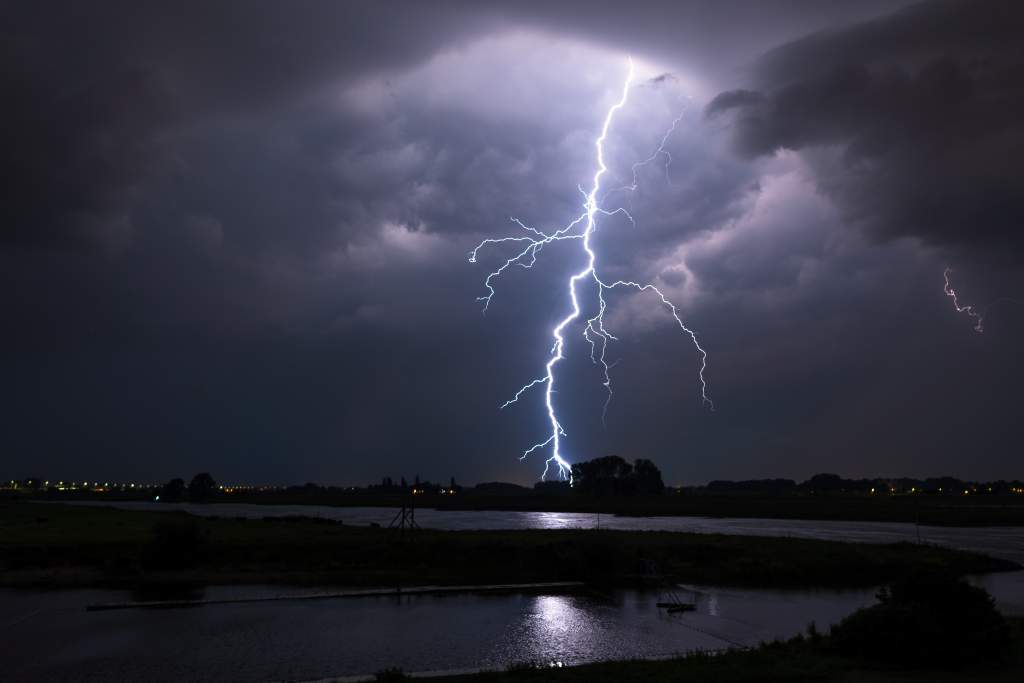
Lightning: You don’t need luck to photograph lightning. You just need to be persistent. Set your camera to around ISO 600 and aperture to f/4. Stand in one spot and take as many 30-second exposures as you can. Start shooting before the lightning strikes to increase your chances of the perfect picture.
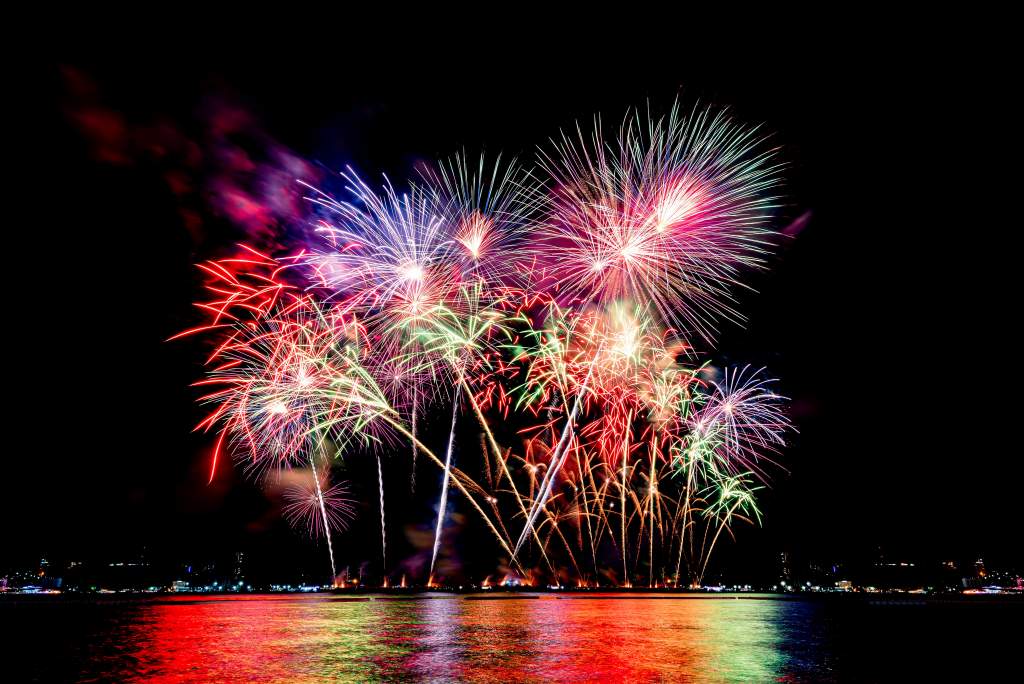
Fireworks: Summer is prime time to practice your fireworks photography. First, find your location. Set up in an open area where you can create a 45-degree angle between your tripod and the fireworks. Then, select ISO 100 and a fast shutter speed. A quick turnover will help capture those rapid starbursts. Better yet, use “Bulb” in manual mode. This allows you to control the shutter. When the fireworks begin, press the shutter release button and hold it down until the sequence ends.
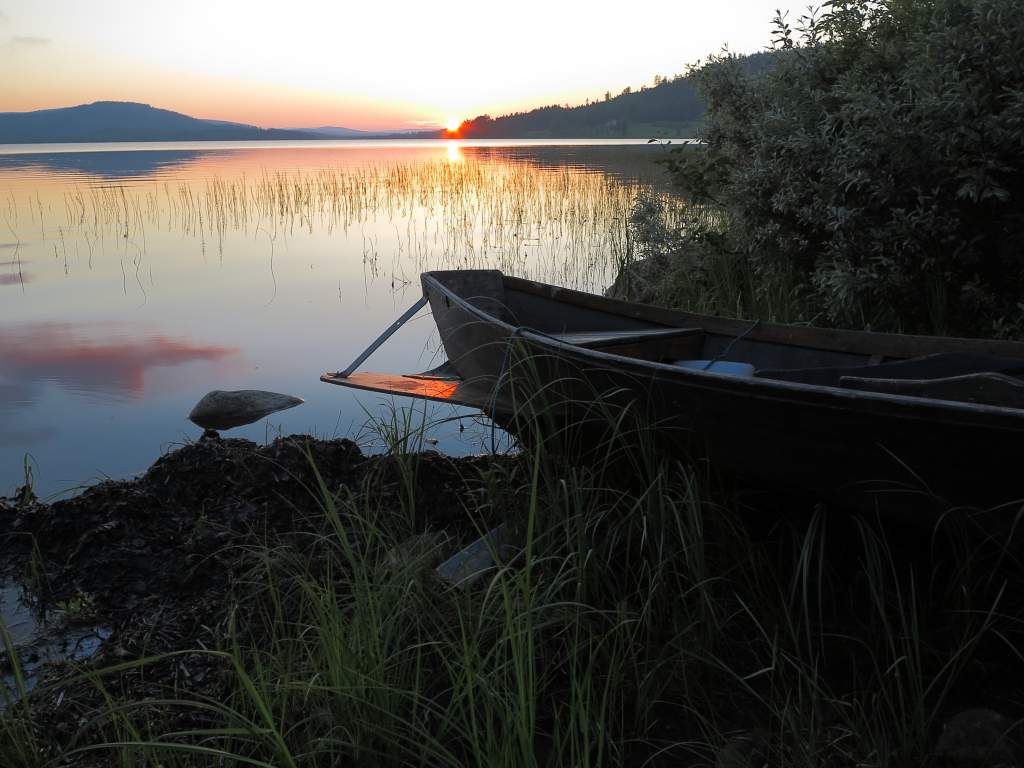
Summer solstice: The summer solstice marks the longest day of the year. It occurs around the 20th of June when Earth tilts toward the sun. This maximum tilt provides some of the best natural lighting for photography. Take advantage of the day and capture a collection of summer solstice pictures. These can be golden-hour selfies or landscape photos with a burst of light on the horizon.
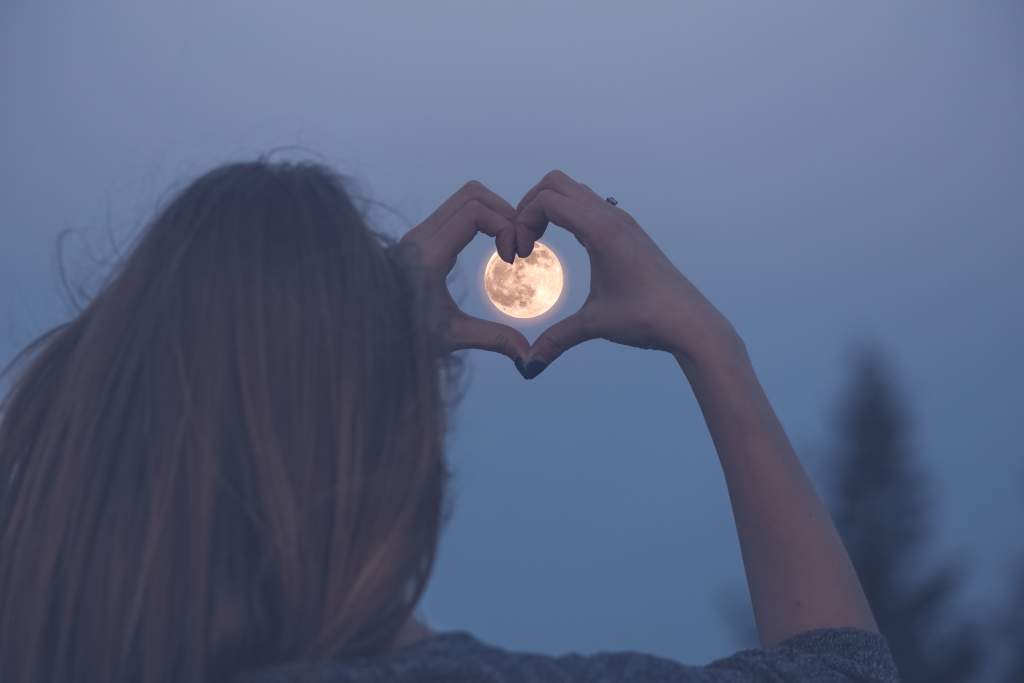
Moon phases: You can photograph the moon any time of year. But clear summer skies give you an advantage. Take advantage of it, and don’t wait for a full moon. Each moon phase is unique. Keep in mind, the moon is a bright subject. Set your camera to ISO 100 or 200 and aperture between f/5.6 and f/11. Keep the shutter speed fast and use a wide-angle lens. The goal is to not overexpose the moon. Challenge yourself by creating moonstacks. This requires taking several photos of the moon as it moves through the sky (like star trails). Then, use your photo editing skills to layer them into one time-lapse image.
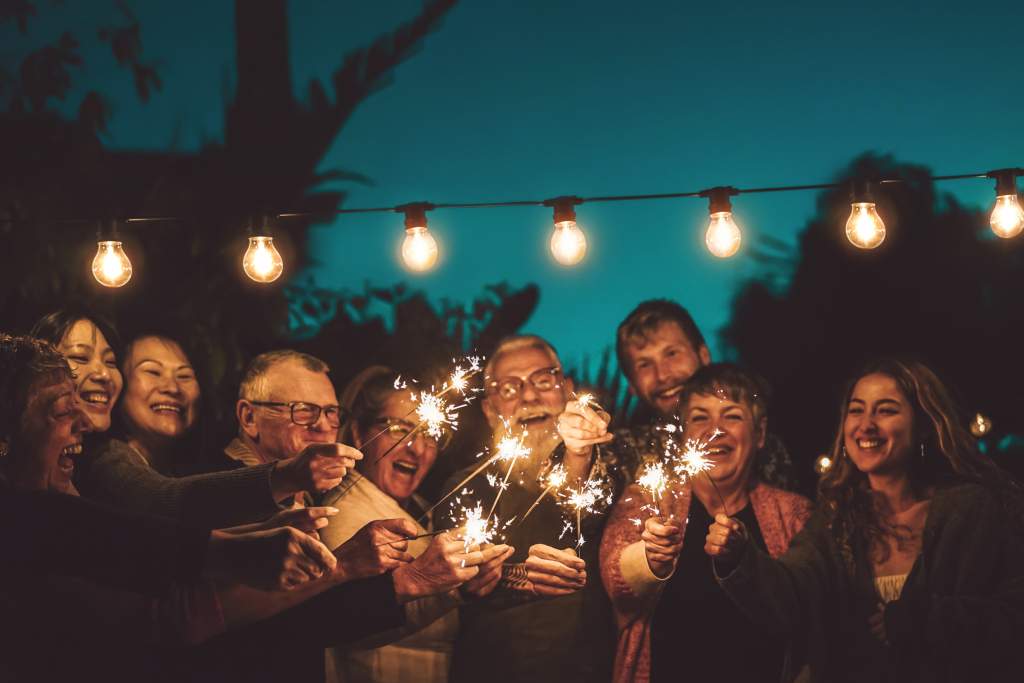
Campfire Nights: When taking pictures with fire as a light source, slow your shutter speed way down to allow time for the light to get recorded on the camera. Do that, and you’ll be taking fireside photos with friends like a pro!
Show Off Your New Skills
Practicing these night photography tips makes it easier to use them. More practice means more photos. The light-and-dark contrast in night photos is nothing short of miraculous. For that reason alone, they deserve to be prominently displayed in a custom-designed photo book. Using the Motif photo book app is easy. It works seamlessly as a native extension of Apple Photos. No exporting, transferring, or uploading necessary. Feature the progression of your night photography skills, or highlight the best of the best. Whatever you choose for your photo book, it will surely be a showstopper!


