In photography, dynamic range refers to the difference between the lightest and darkest tones in a photo. Stand outside during the twilight hour and notice the way shadows and light land on the street, homes, or in a cityscape. Then, try to take photos of the same scenes.
It’s not always easy to capture what the naked eye sees accurately with a camera. That’s because the human eye can see a much greater dynamic range than a camera. Areas such as dynamic range and low light performance are where eyes genuinely shine. The difference between the darkest shadow detail and the brightest highlight detail is measured in lens T-stops. The best cameras on the market have a dynamic range of around 15 stops on average. However, the human eye can perceive 21 stops of dynamic range. Eyes can pick up details in deep shadow and significantly brighter areas from any given scene simultaneously.
What is HDR Photography?
HDR (high dynamic range) photography is a technique that involves capturing multiple images of the same scene using different exposure values. Then the images are combined into a single image representing the full range of tonal values within the scene.
Instead of just taking one photo, HDR photography uses three photos (or five, seven, or more) taken at different exposures. If colors and shadows in a scene seem too busy or difficult to capture in one photograph, HDR imaging is the solution. Multiple photos captured with varying exposure values is the best way to get the various tones in the scene. Then, special software processes those images, interpreting the result to create an image that contains far more detail than is possible with a single photograph with one exposure.
When Would You Use HDR Photography?
Use HDR Photography for any shooting situations with tricky lighting conditions. HDR is used outdoors with various degrees of light and shadow. Use HDR indoors when natural and artificial light competes to highlight an interior space. Here are some ways to try HDR photography:
Landscape Photography
HDR is perfect for landscape photography. Landscape scenes are often high contrast, with the foreground much darker than the sky. The best times for an HDR shoot are at dawn, early in the morning, or when the sun has set. The “golden hour” is also prime time to shoot HDR photography outside, when the sun is low on the horizon. The sun’s position creates an extreme contrast between the parts still hit by the light and the ones in the shadows.
Silhouette Photography
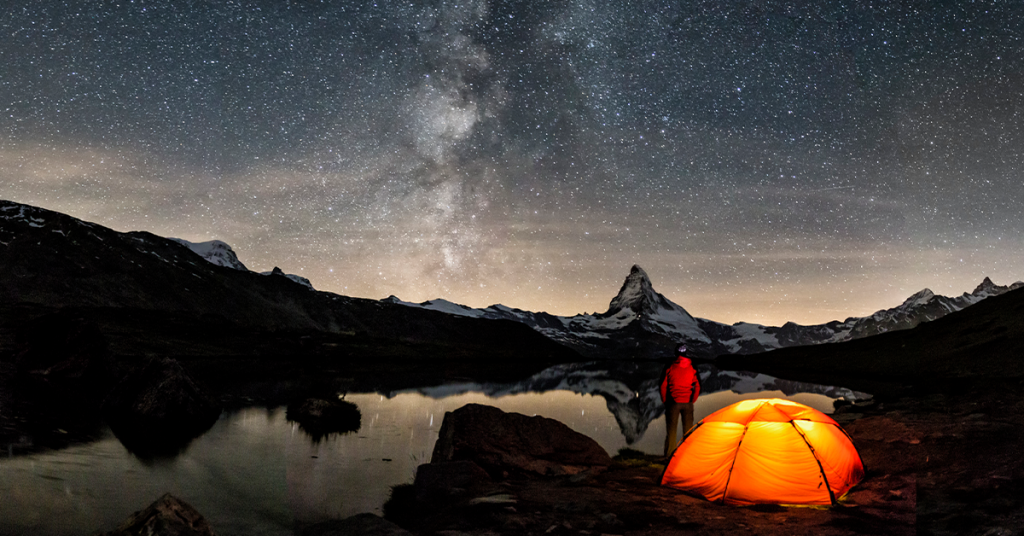
If a subject is backlit (with the light source behind it), use HDR so the focus doesn’t appear as a dark silhouette against a bright background. HDR also works well when photographing a shaded subject against a bright sky. Rather than choosing between a subject that’s too dark or a sky that’s too bright, HDR provides clear views of both. If photographing an object in direct sunlight, dark shadows are likely to be cast within the scene. Using HDR brightens up the shadows while ensuring the highlights aren’t over-exposed.
Interior Photography
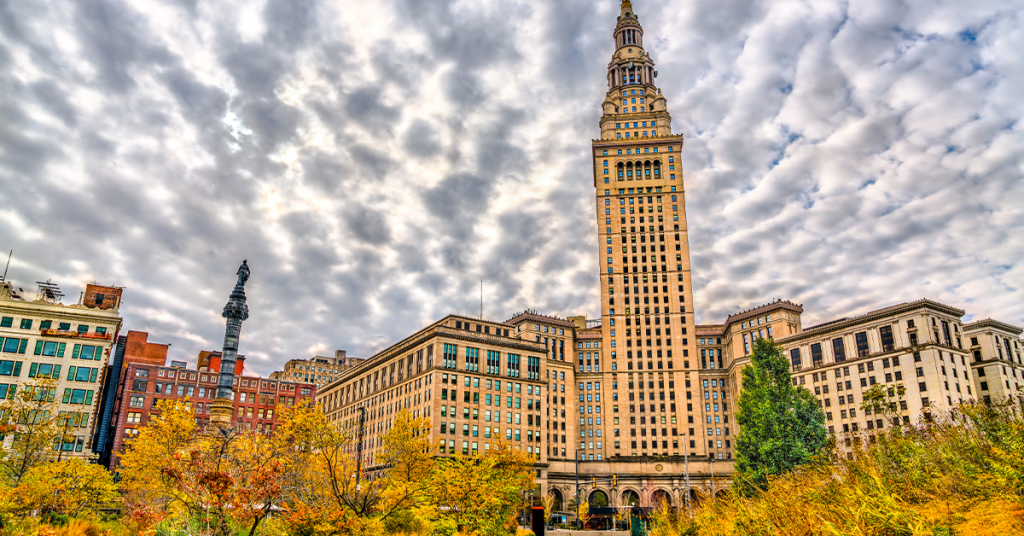
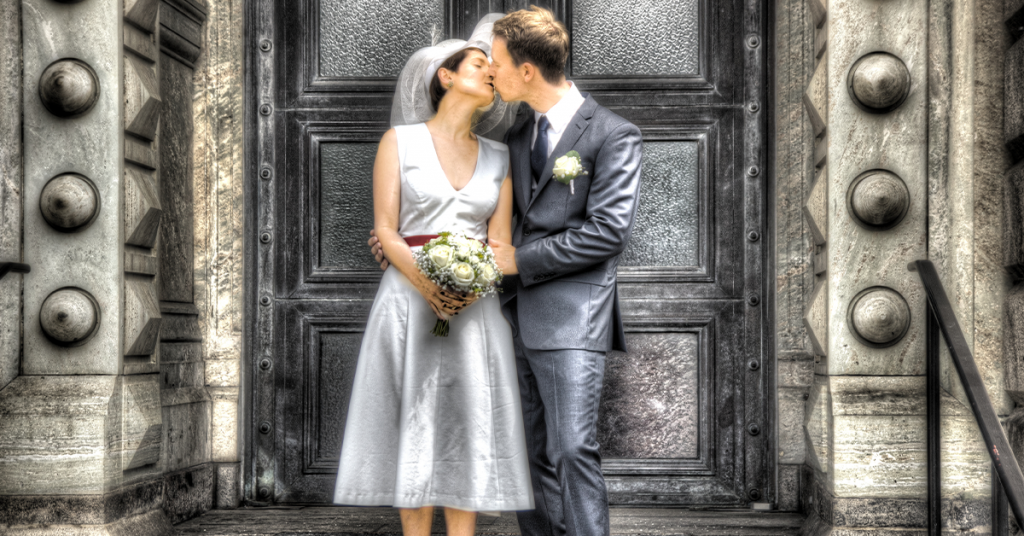
HDR is popular for photographing buildings because it’s best used to capture a lot more detail, including architecture, cityscapes, and real estate. Real estate photographers often find themselves working in very challenging conditions. Property exterior or interior is easy to shoot because they are static subjects. However, photography can be challenging concerning what lighting looks best in a scene. HDR photography allows photographers to get details in both highlights and shadows by combining several images into one final image during post-production.
How to create an HDR image
Photographers can take HDR images with either a DSLR camera or an iPhone. While the mechanics of taking HDR photos is different for both an iPhone and digital camera, the results of several images merging into one HDR image are the same. Use a tripod for both an iPhone camera and digital camera when taking HDR photos, so there’s no camera movement. Blurred edges or images occur from movement. It causes the individual images that form an HDR picture not to line up correctly.
Creating an HDR image with an iPhone camera
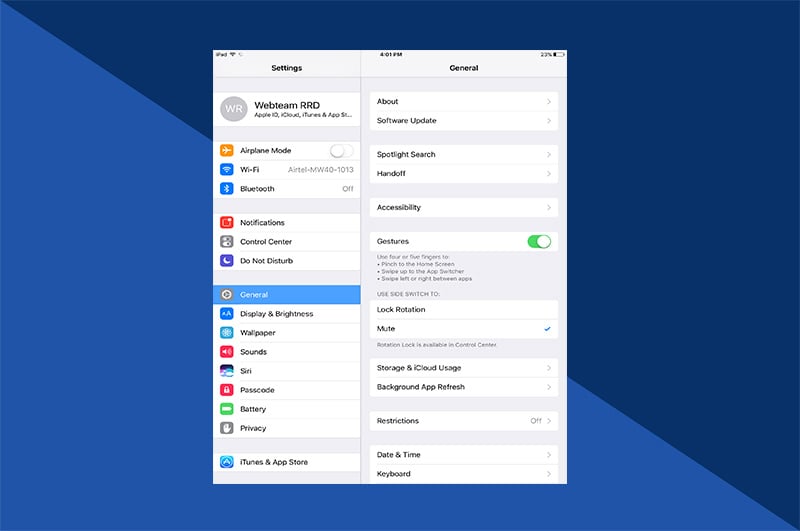
Before you open the Camera app, check your HDR settings in the Settings app. Go to Settings > Camera. Make sure the Smart HDR (Auto HDR on older iPhones) toggle is switched off. If Smart HDR is on, the HDR option won’t be available in the Camera app. Make sure the Keep Normal Photo option is switched on. “Keep Normal Photo” tells the iPhone to save a non-HDR version of the photo too.
Open the Camera app, and ensure the HDR icon at the top of the screen is switched on (the icon appears without a line through it when it’s on). With HDR switched on, the iPhone automatically captures HDR photos when the shutter button is pressed. The individual images, which may be saved depending on the operating system and model, can take up storage space. Therefore, make sure to change the setting to discard the original photos and only keep the HDR image.
It takes slightly longer to capture an HDR photo than a regular one on an iPhone. The camera has to capture three images at different exposures and combine them into a single picture. Because of the extra time required to take an HDR photo, it’s more likely that the iPhone will move slightly. Movement results in a blurred image. For this reason, it’s essential to hold an iPhone still or mount your phone on a tripod while taking HDR pictures.
Exposure bracketing with a digital camera
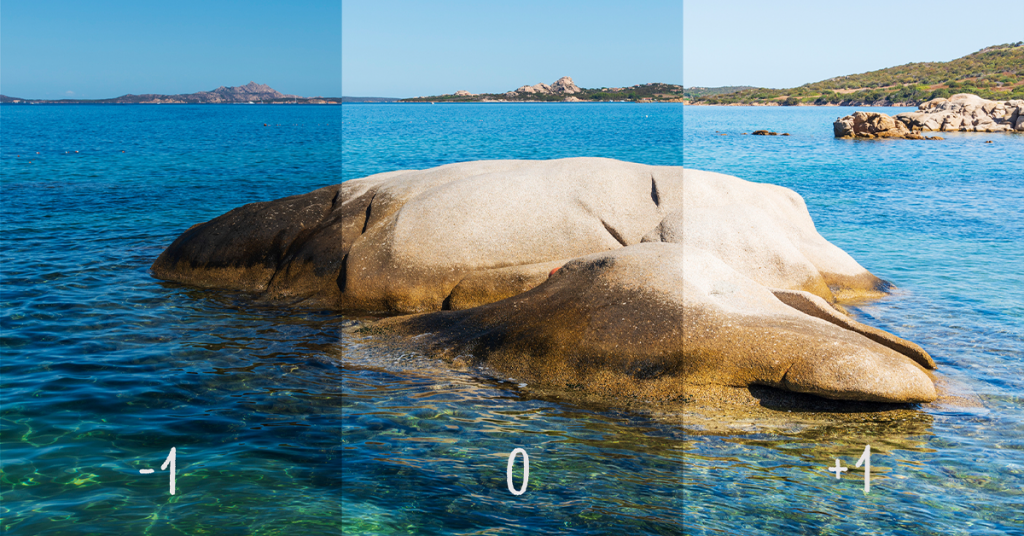
Capturing a series of photos assembled into a final HDR image is called exposure bracketing. Bracketing means taking more than one photo while moving the camera's range arrows around (setting different exposure levels). The more images in the bracket, the more professional an HDR photo will look.
Digital cameras allow you to set bracket exposures automatically. To set auto-exposure bracketing, look for a button labeled AEB (Automatic Exposure Bracketing) or BKT on the back of the camera, or search for it in the camera menu. Most cameras offer three-shot auto-exposure bracketing, though some models allow for five-shot and even seven-shot brackets.
Set the bracketing to 2 exposure value (EV) increments. The first photo you take will be too dark, the second photo will be correctly exposed, and the third photo will be too light or over-exposed (the shutter has to be pressed three times for all exposures to complete). If your camera does not have a bracketing setting, you can manually adjust the aperture. You can also go into the menu settings and manually adjust the exposure value (EV) settings between shots.
Can you shoot HDR in RAW?
When shooting in HDR, set the capture file type to RAW (instead of jpg, etc.). RAW photos are like a film negative. RAW images are better to shoot in HDR than a jpg because there’s more data to use when editing images. RAW files contain much more light information than a jpg image. This allows many more adjustments to shadows and highlights. It helps fix errors in exposure that would never be possible with a jpg.
HDR software
The beauty of HDR photography comes together in post-processing. HDR software creates the dramatic colored and tonal effects of images after blending the several exposures. Be sure that the photos have the correct exposures, are not blurry, and capture the effect desired. HDR-specific software is used for the merging and tone-mapping stage of HDR sets. After merging the images in HDR software, finishing touches can be added to the HDR image in software like Lightroom or Capture One.
Photoshop is also popular to use for final touch-ups of HDR images. Use a custom “Curves” adjustment or the brush tool on the Curves mask to adjust an image. Try the Shadow/Highlight tool to perfect shading, as well as the Spot Healing Brush to blend away something small.
HDR photography is a unique way to capture subjects you’ve never tried before because of their difficulty to capture. Try HDR photography on your next sunset beach walk, hike, or even family event. Then, save the images in a photo book from Motif. Whether it’s a wedding photo book, ski vacation keepsake, or commemorating a great year, Motif makes it easy to pull all your memories together into one place.


