Exposure is an important concept in photography, regardless of whether you’re taking pictures with a high-end camera or on an older smartphone.
If you don't find the right amount of exposure, it's going to be challenging to get the results you want with your photos. In fact, certain photos might not be possible without a better understanding of exposure.
Fortunately, exposure is one of those concepts that you can gain greater mastery over through practice and understanding. To help you achieve this, here’s a rundown of what exposure is, how it works, and how you can use it to create phenomenal effects in your photography.
What Is Exposure in Photography?
Regardless of the type of camera you use, the camera itself functions by capturing the light that’s reflected off of whatever you’re taking a picture of.
In many respects, a camera is similar to your eyes. You need light to see and your camera needs light to capture an image. How much light and how long that light is present is exposure. By controlling how long the film or the sensor in the camera is exposed to light, you can adjust the exposure and alter the way that the image is captured.
This may sound complicated, but it doesn't have to be. Especially if you're used to point-and-click photography with your camera or mobile device. Much can be learned from the basics of exposure. To start with, have a look at the factors that actually control exposure.
Three Components of Exposure
Even though exposure is broadly defined as being exposed to light over time, there are actually three components that come together to make up exposure. Each of these affects exposure in a different way.
- ISO Tips: This is a setting that affects the sensitivity of a digital sensor to light (or in the case of film photography, the film’s sensitivity to light.) On digital cameras, ISO can be adjusted to change the camera’s light sensitivity and affect how much light is required to properly expose an image. Increasing the ISO makes the digital sensor more sensitive to light and causes it to expose faster; decreasing the ISO makes the sensor less sensitive and causes it to expose slower.
- Shutter Speed Tips: As the name implies, shutter speed is the speed at which the lens shutter opens and closes. The period during which the shutter is open is the time during which the image is exposed; a faster shutter speed receives less exposure, while a slower shutter speed receives more.
- Aperture Tips: A lens aperture is the actual hole through which light enters the lens. By adjusting the size of the aperture, more or less light enters the lens and is able to reach the film or sensor. A more open aperture allows in more light, while a nearly-closed aperture lets in very little light.
You can see how each of these aspects of exposure controls the amount of light available to create an image, and also how each does so in a different way. The more light that is available, the faster an image is fully exposed. Less available light takes that image longer to reach exposure.
The type of exposure control you use for your photos can vary depending on the specific effect that you want to create. You may see different photography tips suggesting different types of exposure control for different types of shots.
Exposure and Noise
In most cases, if you see suggestions talking about ISO adjustments, they deal with controlling the amount of digital noise that appears in a picture. (Most ISO tips relate to digital cameras instead of film cameras, since the light sensitivity of the film isn’t really something that you can control beyond the film choices you make; so discussion of ISO adjustments typically centers around digital noise.) Increasing ISO makes the digital sensor more sensitive but also can increase the amount of noise in a picture if there’s too much light.
This isn’t necessarily a bad thing, mind you. Increasing ISO can make it easier to shoot in low-light environments and you can create some really interesting effects by playing with light and digital noise. Likewise, adjusting the ISO down can make it easier to shoot on overly bright days when everything is a bit too illuminated. The more you practice adjusting your ISO settings, the more your control of light and exposure will show in your photography.
Exposure and Blur
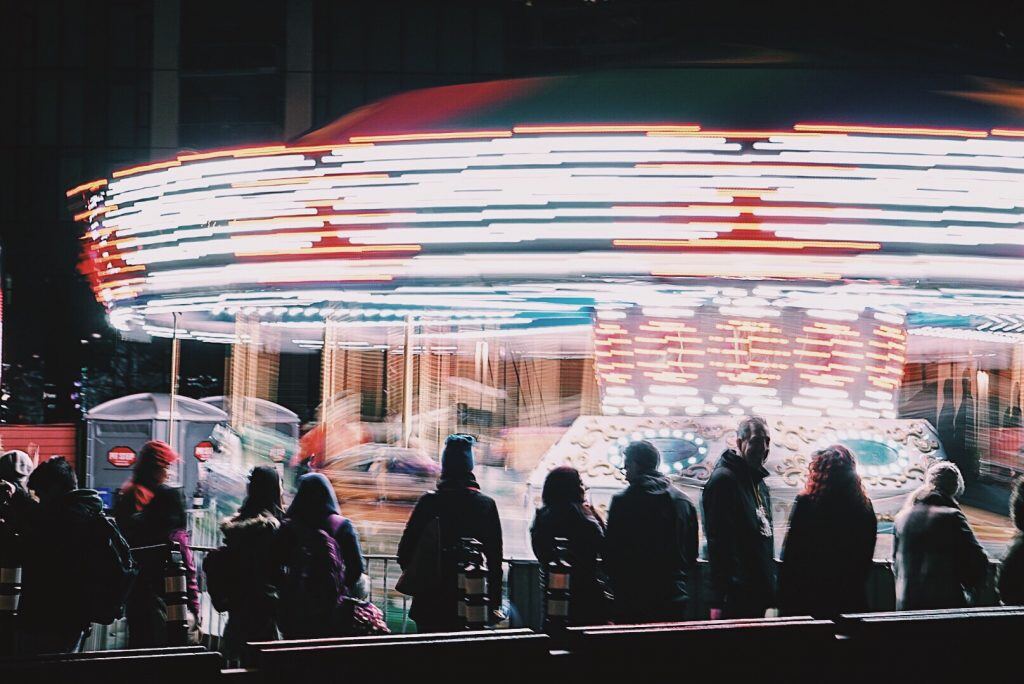
When it’s intentional, motion blur is an eye-catching, interesting effect. When it’s accidental, however, it can be extremely frustrating.
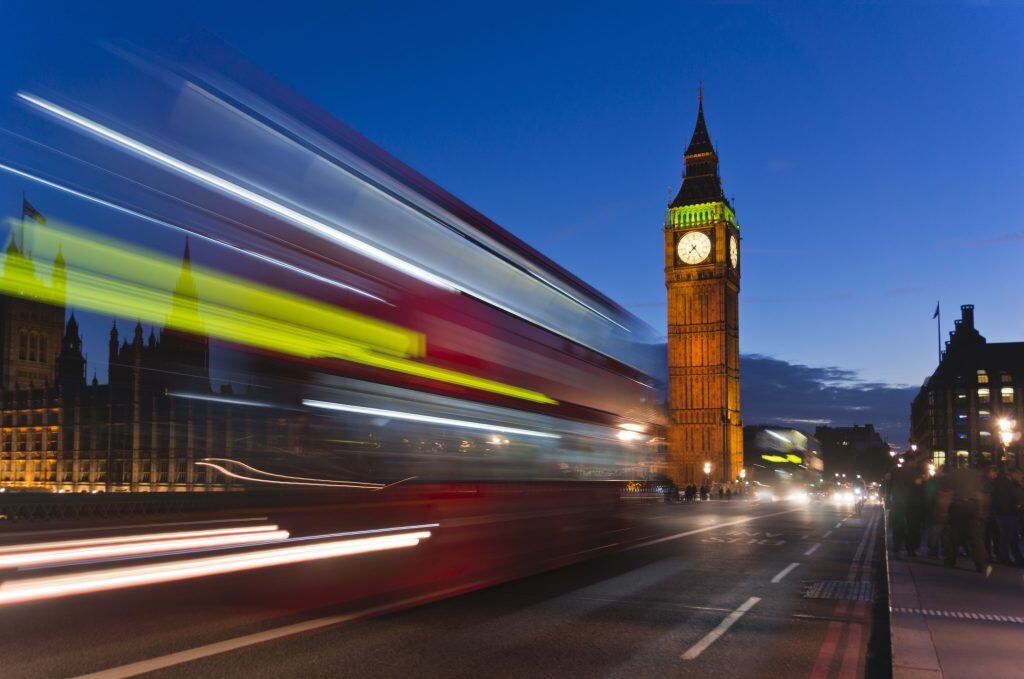
Motion blur occurs because something in your shot is moving faster than your exposure time. It causes your shot to try and pick up the entire movement as though it were a single object. As you might guess, adjustments to your shutter speed are your best tool when it comes to preventing or creating blur in your pictures.
The slower your shutter speed, the more time objects in your shots have time to move. This can create some amazing effects if only one thing in your scene is moving. Everything else will stay still and in focus while your moving object experiences some blur. Fast shutter speeds have the opposite effect; capturing moments as still life even if there are things moving within your scene. By making adjustments to your shutter speed you can get a feel for how to control blur effects and to get the best photos based on your exposure time.
Exposure and Sharpness
When you see photos where everything seems to be in sharp detail, that’s usually a result of aperture.
On the other hand, when you see pictures where a central subject is clear and the background is slightly or moderately blurred… that’s also a result of aperture. The aperture of the camera’s lens is responsible for setting a picture’s depth of field. A fine aperture results in the entire scene being in sharp focus. A wide aperture creates a shallow depth of field that puts only your central target in focus.
You’ll see aperture measured in units known as f-stops, which correspond to a measurement of the size of the aperture hole on the lens. The smaller the number (such as f/2.0), the larger the aperture hole is and the greater the shallow depth of field effect will be. Likewise, a larger number (such as f/32) correlates to a smaller hole and very sharp and crisp focus within the picture. Adjusting the aperture lets you experiment with different amounts of the depth of field effect, giving you greater control over the sharpness and background blur present in your final photos.
Long Exposure Photography
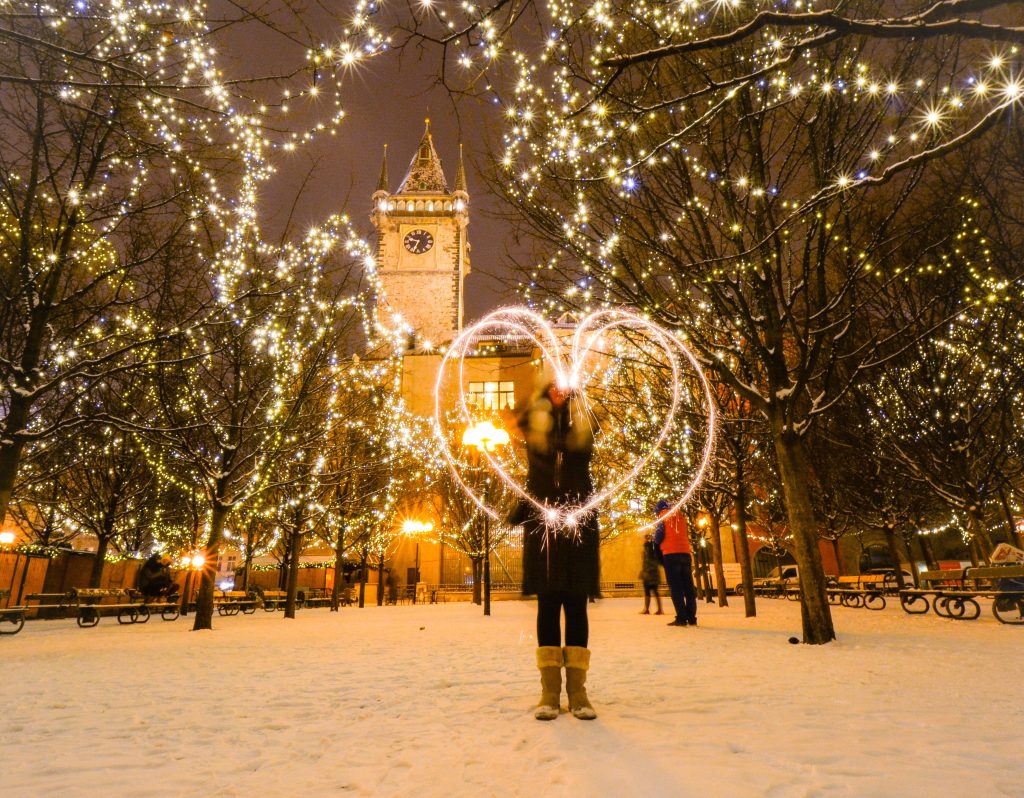
As you gain an understanding of how different aspects of exposure work, you’ll likely also start to understand the effects created in long-exposure photography more.
As the name suggests, these pictures are taken with the shutter open over a longer period of time to maximize the blur effect present in moving objects. This is most commonly seen in pictures of cities at night, starscapes in motion, moving cars or athletes, and similar photos where the photographer is trying to maximize the blur effect to artistic purpose.
While long-exposure photography is achieved by controlling shutter speed, you should be able to see how making adjustments to aperture or ISO can play a part in the effect as well. Since the shutter remains open, you’ll need to use other means to control the amount of light entering the lens to achieve the effect you want. This is why some photographers find long-exposure photography a little daunting. As you become more adept at controlling exposure using all three components it starts to unlock some really interesting possibilities.
Exposure and Light
One thing to keep in mind is there isn’t any one-size-fits-all solution for controlling exposure because there are external factors that affect exposure as well.
The biggest thing that you have to keep in mind when trying to decide on how to control exposure in your photo is the amount of light that’s available in your environment. This can be in the form of natural light, indoor lighting, and even studio lights you’ve set up for your photoshoot. Whether there’s a lot of light or barely any at all, it’s going to affect how your pictures are exposed since light is vital to the exposure process.
Stop and think about exactly how you want the end result to turn out and how much light is available in your scene. This will inform you as to whether you need to adjust your settings before you start taking pictures. You can then take this information and consider it along with the effects you want to achieve, letting you plan out your actual adjustments before you start shooting.
Choosing Exposure Settings
As you become more adept at adjusting your exposure settings it becomes easier to determine the settings you need for any given shot.
This method can take some trial and error at first, which is why planning out your shots in advance can help. Bright environments where you want to control the amount of light typically require you to adjust settings down, while you’ll find that increasing settings is best for darker areas. Given each exposure setting has a different effect on your final picture, though, being able to master knowing which settings are best to adjust for each situation can take some time.
Consider the amount of available light, how much potential blur you want in the photo, and whether you want to create any depth of field effects. If you have time to take multiple shots and adjust your settings in between, try making small adjustments and viewing the end result to see how much you like them.
Try to avoid starting with extremes, even if the environment seems very bright or very dark. Remember, small adjustments in either direction are a better way to learn. You can more easily recognize that you’ve gone too far. Just step your changes back one or two settings.
Correcting Exposure
You can create a wide range of effects once you start gaining better control over your exposure settings.
This doesn’t mean that you have to rely solely on these settings to capture the shots that you want, however. One of the things that you will discover is that editing is an important part of learning how to take professional photos. There are a number of tools that allow you to correct for imperfect exposure or add exposure effects after your picture is already taken. While each of these tools comes with its own learning curve, the time that you spend learning how to properly edit and adjust your photos will make it that much easier for you to create the photos you want to take.
Even when you’re generally satisfied with the pictures you’re taking, there may be small adjustments or edits to your exposure that can take a good photo and turn it into a great one. Some photographers even purposefully set their exposure slightly off to practice their editing skills.
As you become more comfortable with your editing tools, it will take a lot of the fear out of overexposed and underexposed photos and may even help you on your way to becoming a more confident photographer overall.


