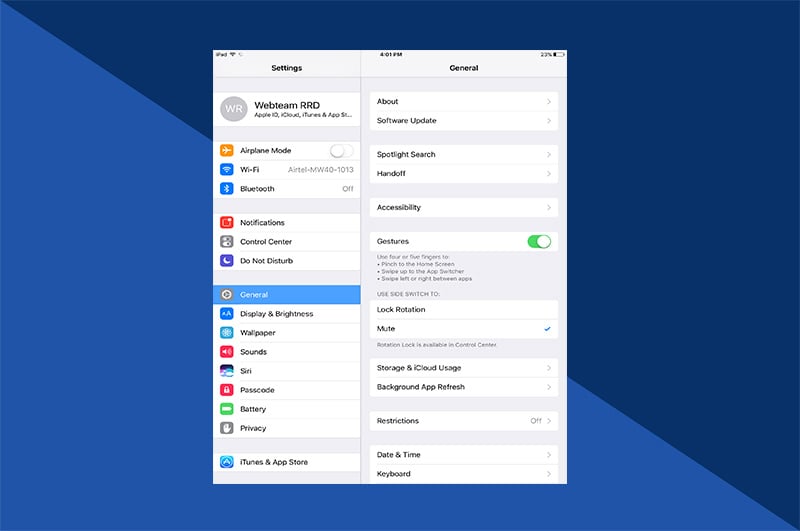
Whatever your reason for wanting to share images across your Apple devices, you’ll be pleased to know it’s easy to do. Here are three ways of transferring photos from iPhone to iPad, so simply choose your preferred method from the list below to get started.
- Using iCloud
- Using AirDrop
- Using USB-C
Transfer photos from iPhone to iPad with iCloud
If you’d like to transfer photos from your iPhone to your iPad automatically, then iCloud is your best option. You can sync content across your devices through your iCloud account; it's quick to enable and will continue to sync until you turn it off. iCloud is the simplest, most hassle-free way to transfer your content between devices. Here’s how to set it up.
1. On your iPhone, go to Settings, then click on Photos.
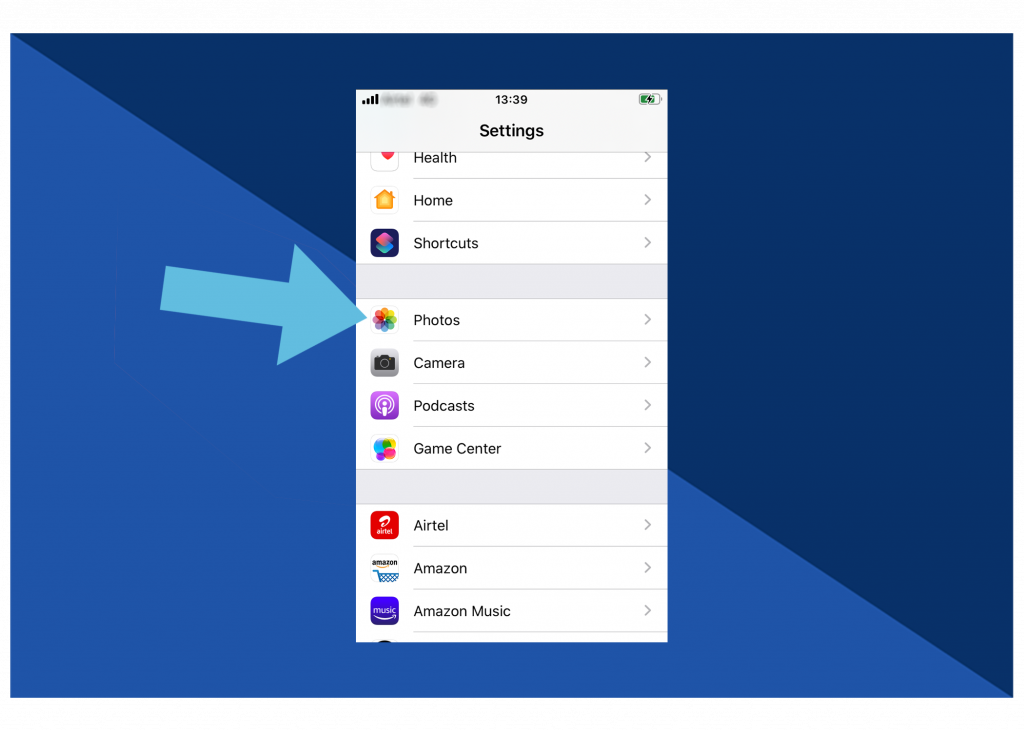
2. Enable iCloud Photos by tapping the slider (so it goes green).
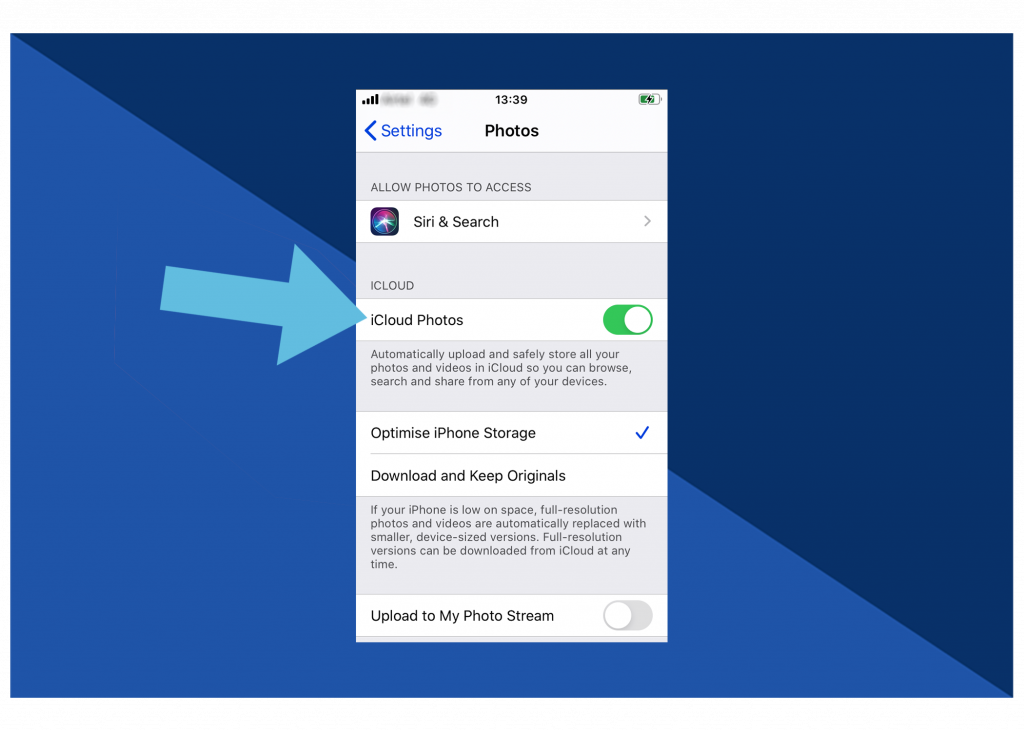
3. Choose the Optimise iPhone Storage if you prefer (this saves full resolution images in the Cloud, and not on your phone, which frees up space).
Follow the same steps as above on your iPad to ensure iCloud photos is enabled, and therefore syncing, across both devices.
Though iCloud is fairly simple to use, if you run into any problems you can check out our handy guide on iCloud errors.
Transferring photos from iPhone to iPad with AirDrop
A more manual process than iCloud, AirDrop is the best option if you’re not looking to share all content across devices, just specific images and videos. Instead of automatically syncing all content, with AirDrop you can select what content you’d like to share and who you’d like to share it with.
First, you need to enable AirDrop on both your iPhone and iPad. Here’s how.
1. Launch the Control Centre by swiping up from the bottom of the screen (on an iPhone 8 or older) or swiping down from the top-right corner (on newer iPhone models).

2. Press firmly on the wireless icon.
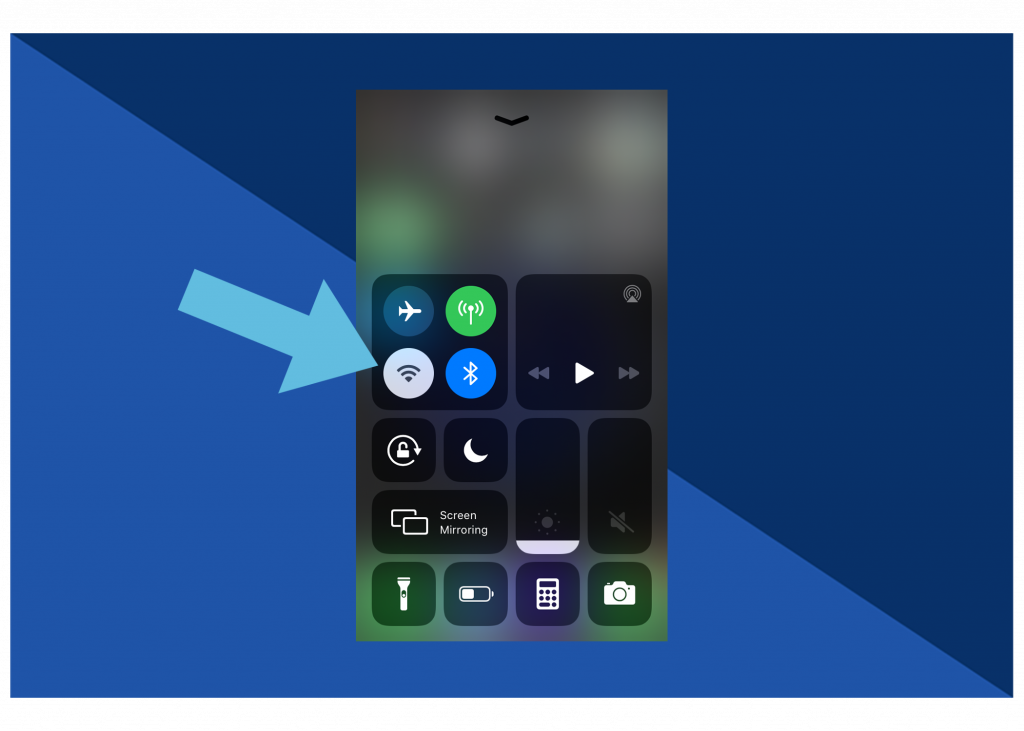
3. Tap AirDrop and select Contacts Only. (You can choose Everyone instead if you wish, but bear in mind this means that anyone can find and try to AirDrop images and videos to you).

Once AirDrop is enabled, here’s how to transfer photos from iPhone to iPad using it.
1. In the Photos app on your iPhone, open the photo you’d like to share.

2. Tap the Share icon. Scroll left and right to select more images if you need.

3. Select AirDrop, then tap your iPad to share it with this device.
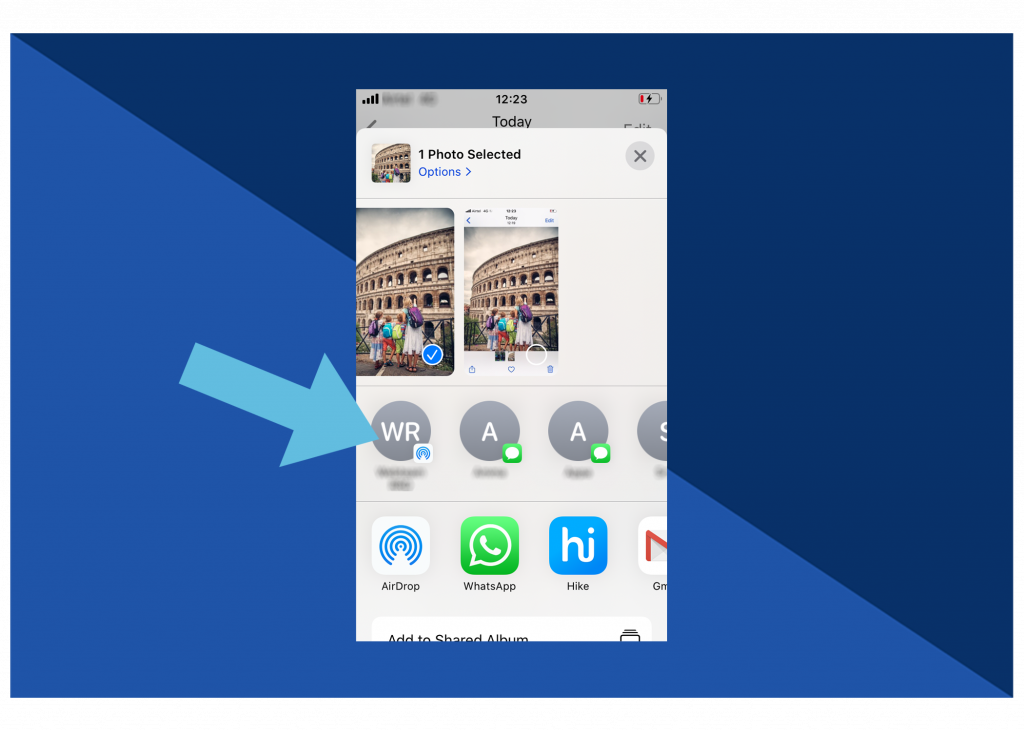
4. The photo will now appear in your iPad’s Camera Roll.
Transferring photos from iPhone to iPad with USB-C
You can also use a USB-C cable to transfer your images from your iPhone to your iPad. Here’s how.
1. Plug the USB-C end of the cable into your iPad, then plug the other end into your iPhone.
2. Unlock your iPhone, then select Allow from the pop-up. An Import screen will automatically appear on your iPad.
3. Select the images you’d like to import from your iPhone and select Import.
Creating beautiful memories with Motif
Once you've transferred and reviewed your photos on a larger scale, why not turn some of your favorite images into a treasured photo book? With over 80 personalized layouts and the option to choose backgrounds and sizes that suit you, a photo book is a great way to celebrate and share your favorite photographs with family and friends. Download the app today.


